Everything you need to know about installing rubber matting for horse stalls.
Rubber stall mats are one of the most important upgrades you can make to any barn. They create a safer, more hygienic, and more comfortable surface for your horses while reducing bedding consumption and long-term maintenance costs.
This step-by-step guide from our team at System Equine walks you through exactly how to install rubber stall mats properly so you get a tight, level, long-lasting fit.
Why Proper Installation Matters
Even the highest-quality mats won’t perform well if they are:
- Installed on an uneven base
- Not locked tightly together
- Cut inaccurately
- Able to shift or curl
A proper installation creates:
- A flat, level, supportive surface
- Fewer gaps for waste to accumulate
- Less mat movement
- Longer lifespan for the mats
Tools & Materials Needed
Before starting, gather the following:
Tools
- Measuring tape
- Utility knife with extra blades
- Straight edge or long metal ruler
- Pry bar (optional)
- Marker or chalk
- Rubber mallet
- Shop vacuum or broom
Materials
- Rubber stall mats (typically 4′ × 6″, 3/4″ thick)
- Level base (concrete, stone dust, screenings)
- Optional: interlocking mats for precision fit
Step 1: Prepare the Subfloor
Your base is the most important part of the installation.
If installing on stone dust or screenings:
- Compact the base using a mechanical tamper.
- Ensure the surface is firm, level, and smooth.
- Fill low spots and remove high spots—mats must sit flat.
- Wet (helps to pack better) and re-compact the surface if needed for stability.
If installing on concrete:
- Sweep thoroughly.
- Repair cracks or uneven areas.
- Make sure water does not pool—mats should sit fully supported.
Tip: A level base prevents mats from pumping, shifting, and creating gaps.
Step 2: Measure the Stall
Accurate measurements save time and reduce waste.
- Measure wall to wall, including:
- Feeders
- Waterers
- Posts
- Door frames
- Plan your mat layout so that as many factory edges as possible run along the walls. (put various matting layout here)
Step 3: Start With the Largest Mats First
Place the full mats into the stall first.
- Start at the front corner of the stall. Try to ensure that the front doorway has the largest-sized matting.
- Lay mats tightly against the wall.
- Work toward the back of the stall or outside wall.
This reduces cutting and ensures a tight, stable installation.
Step 4: Cut Mats to Fit
Use a sharp utility knife and straight edge.
Cutting method:
- Score the mat several times along your marked line.
- Fold or bend the mat along the cut to open the seam.
- Continue cutting until the mat separates.
Pro Tip: Warm mats are MUCH easier to cut.
Leave them in the sun for an hour or bring them into a heated area during winter.
Step 5: Lock Mats Together
Once all mats are laid out:
- Slide mats tightly together to eliminate gaps.
- Use a rubber mallet to pull seams tight.
- Make sure all edges are square and flush.
If using interlocking mats, ensure each tab is fully seated before moving to the next row.
Step 6: Check for Movement or Lifting
Walk the entire stall surface.
Look for:
- Edges that lift
- Uneven seams
- Soft or hollow spots
- Gaps between mats
Fix any issues before bedding the stall.
Step 7: Add Bedding and Inspect Regularly
Once everything is secure:
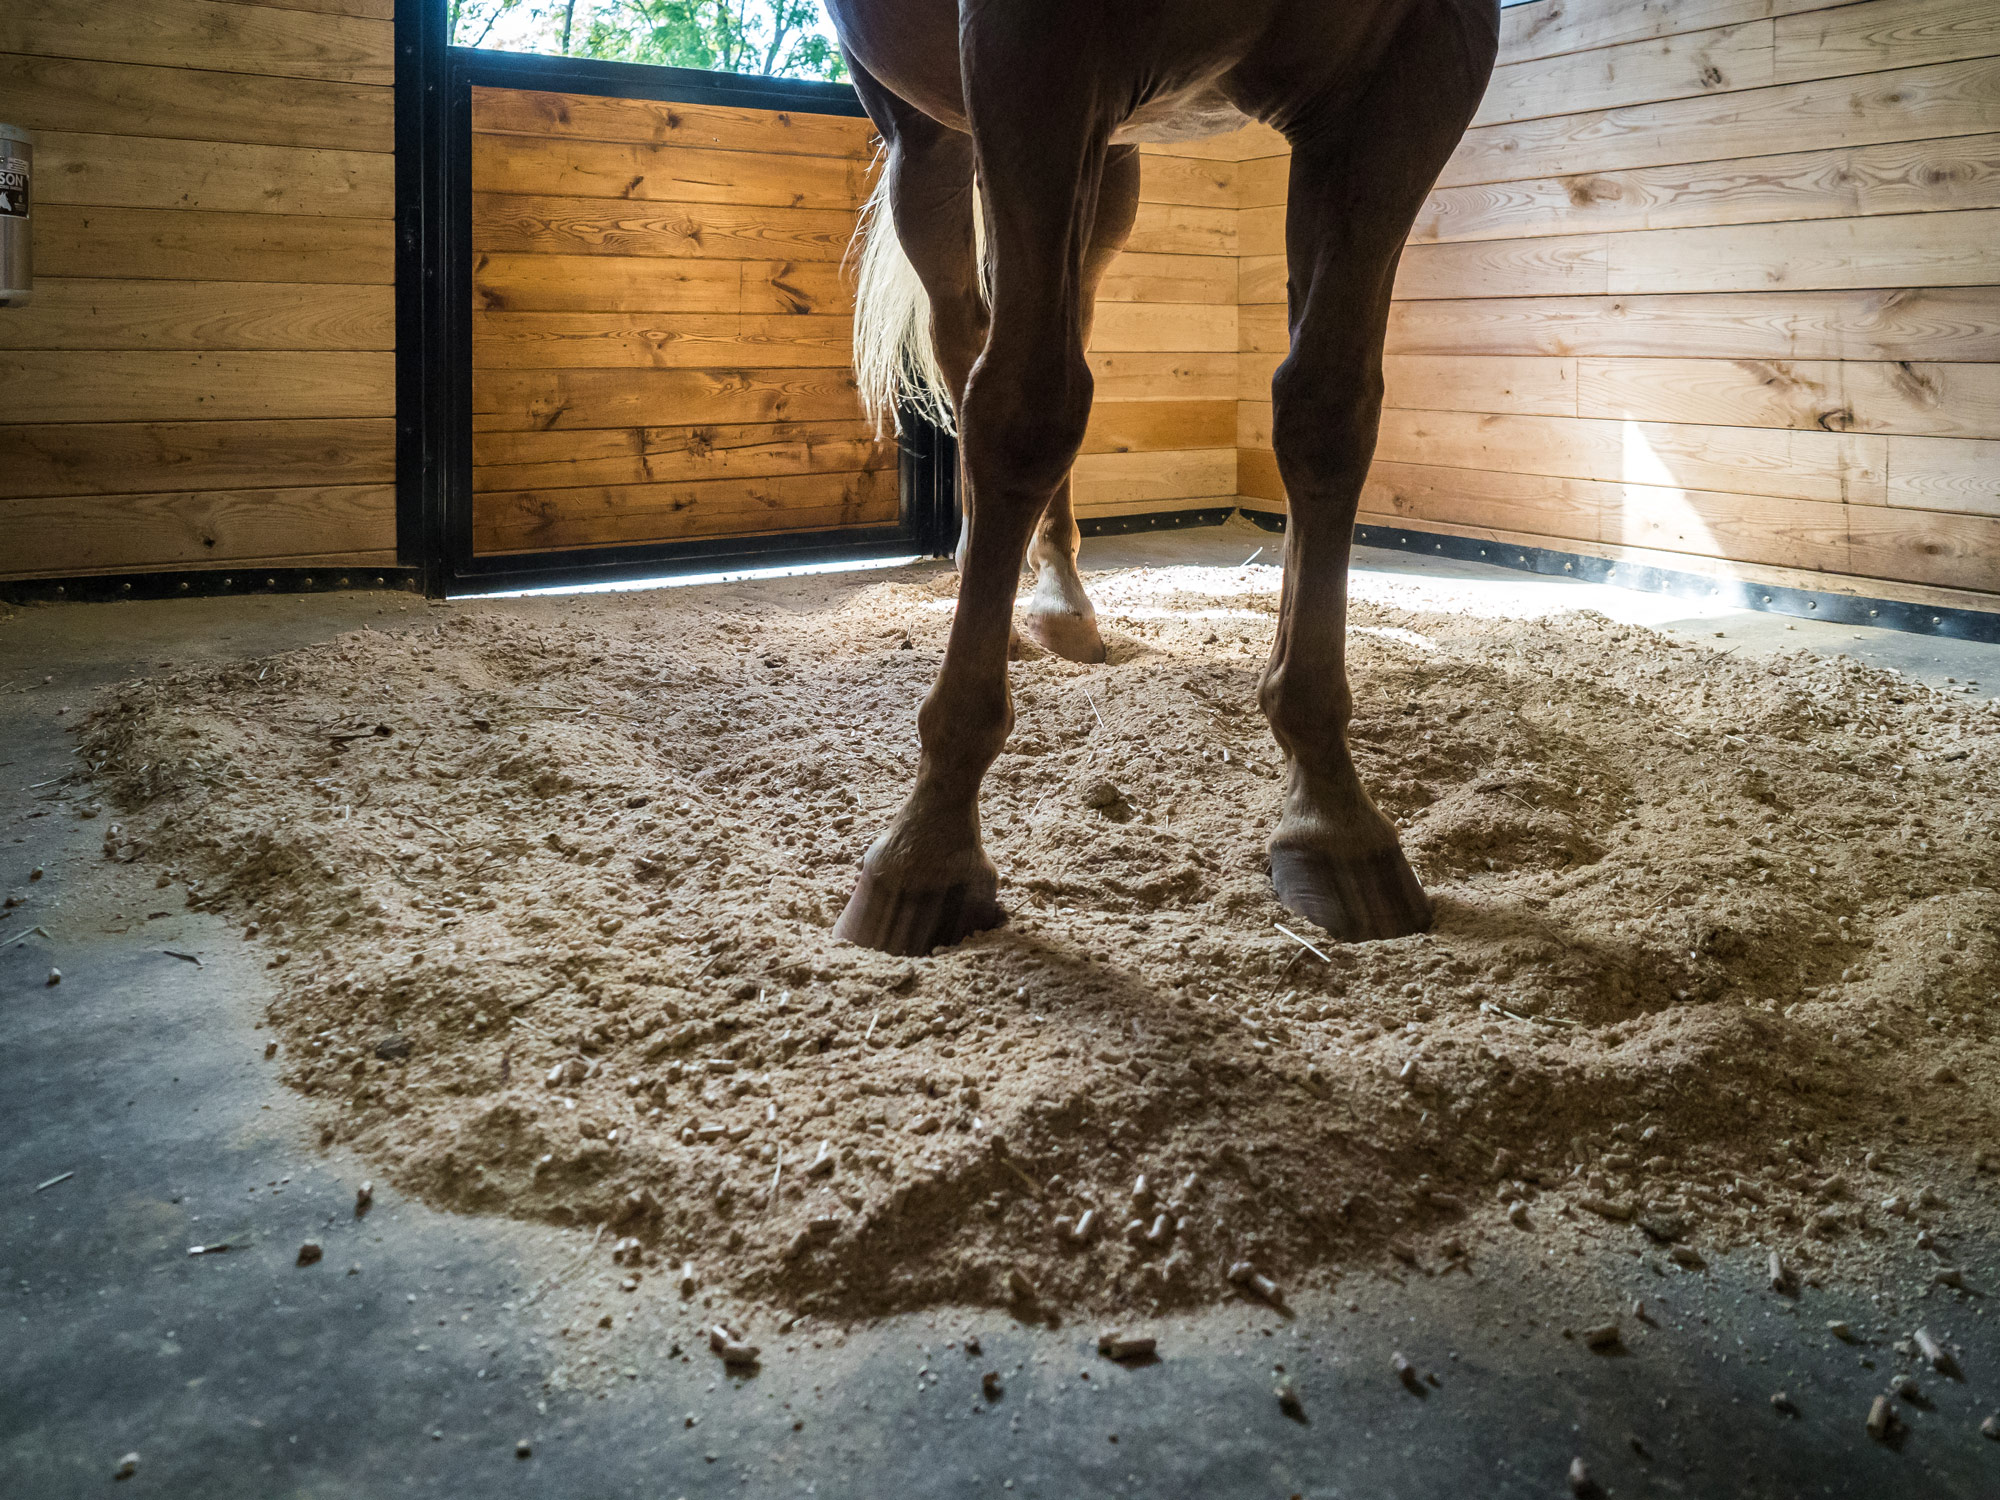
- Add your preferred bedding (shavings or pellets).
- Reinspect after a few days of use—mats often settle slightly.
- Smooth out any base material that may have shifted.
Regular maintenance keeps your mats tight and safe over time.
Optional Upgrade: System Equine’s StableComfort or Interlocking Mats
If you want:
- Zero mat movement
- Cushioned flooring
- Better traction
- Easier cleaning
Consider upgrading to:
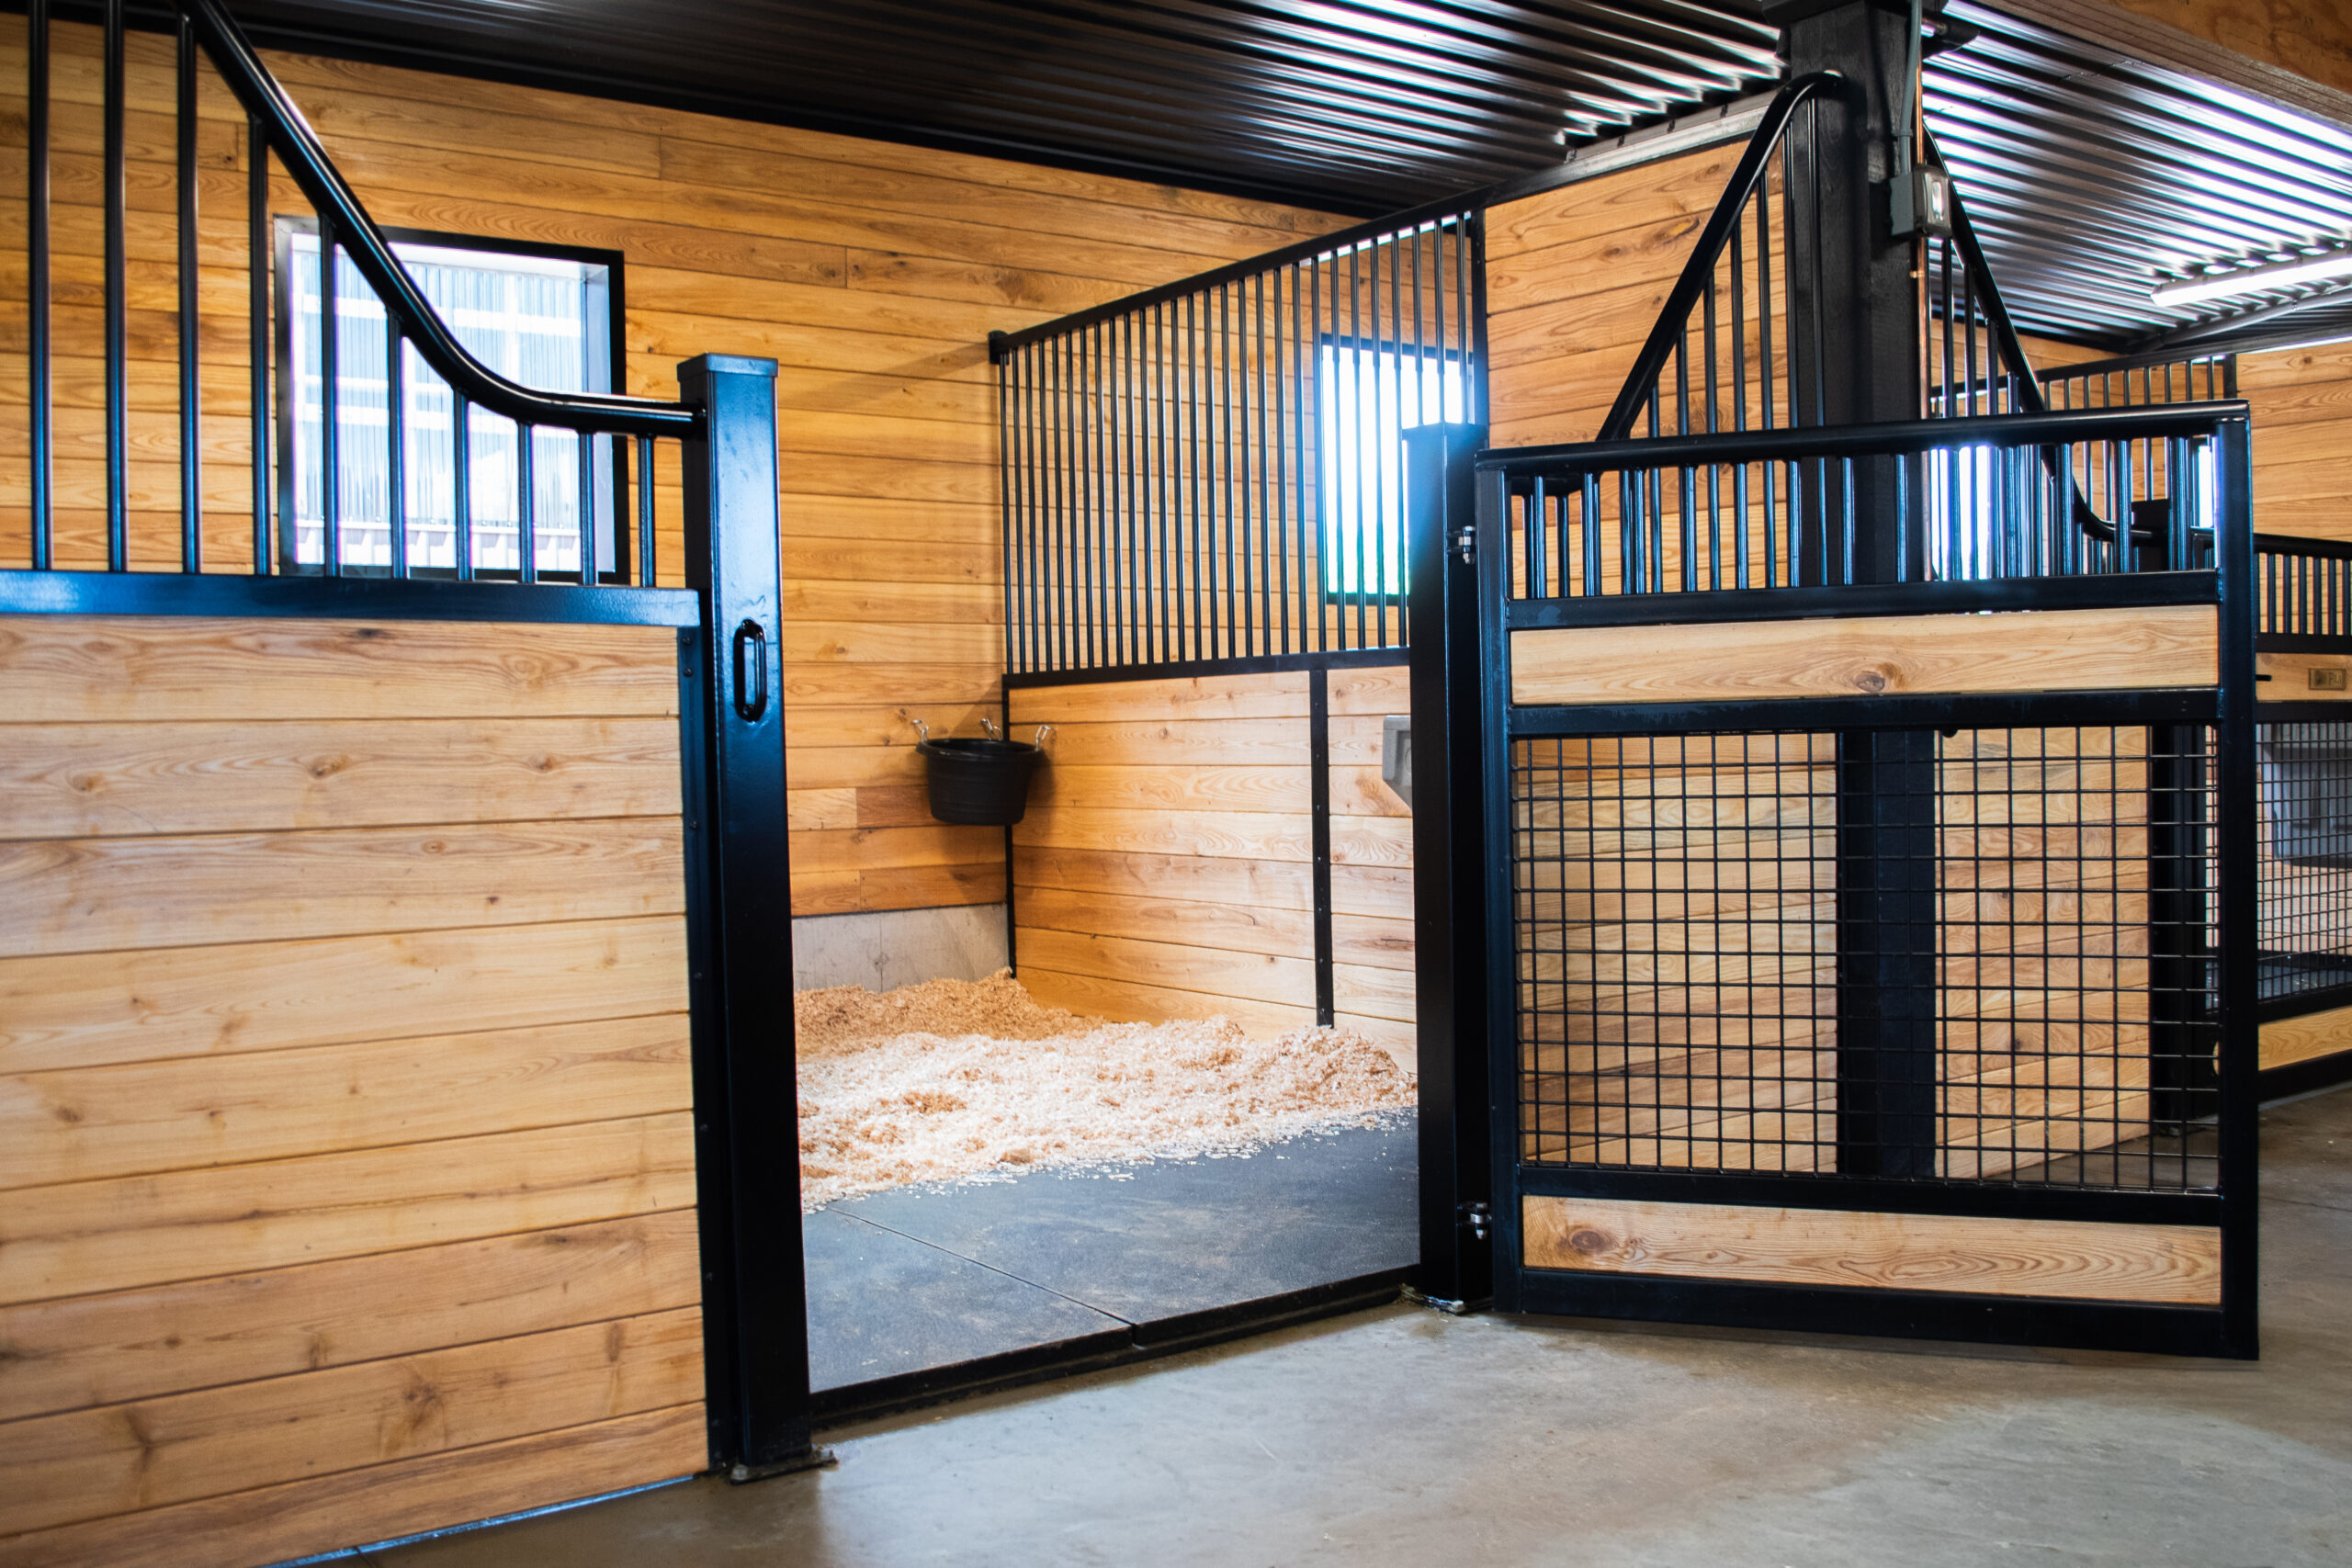
- StableComfort Flooring System (premium comfort system)
- Interlocking stall mats designed for precision fit
These create a tighter seal and longer lifespan compared to traditional straight-edge mats.
Common Installation Mistakes to Avoid
- Uneven base: #1 cause of mat shifting
- Using dull blades → jagged cuts
- Not measuring twice → costly errors
- Leaving gaps → manure buildup and odor
- Not allowing mats to relax → curled edges
Correcting these early ensures a clean and durable installation.
How Long Do Rubber Stall Mats Last?
With proper installation and normal use, quality mats typically last:
- 10–20 years on concrete
- 8–15 years on stone dust
Interlocking mats and premium systems last even longer.
Our Conclusion
Installing rubber stall mats properly is one of the best ways to improve your horse’s comfort and make daily cleaning easier. With a solid base, tight seams, and accurate cuts, your mats will stay in place and perform for years.
Don’t forget to follow us on social media to see more of our work!