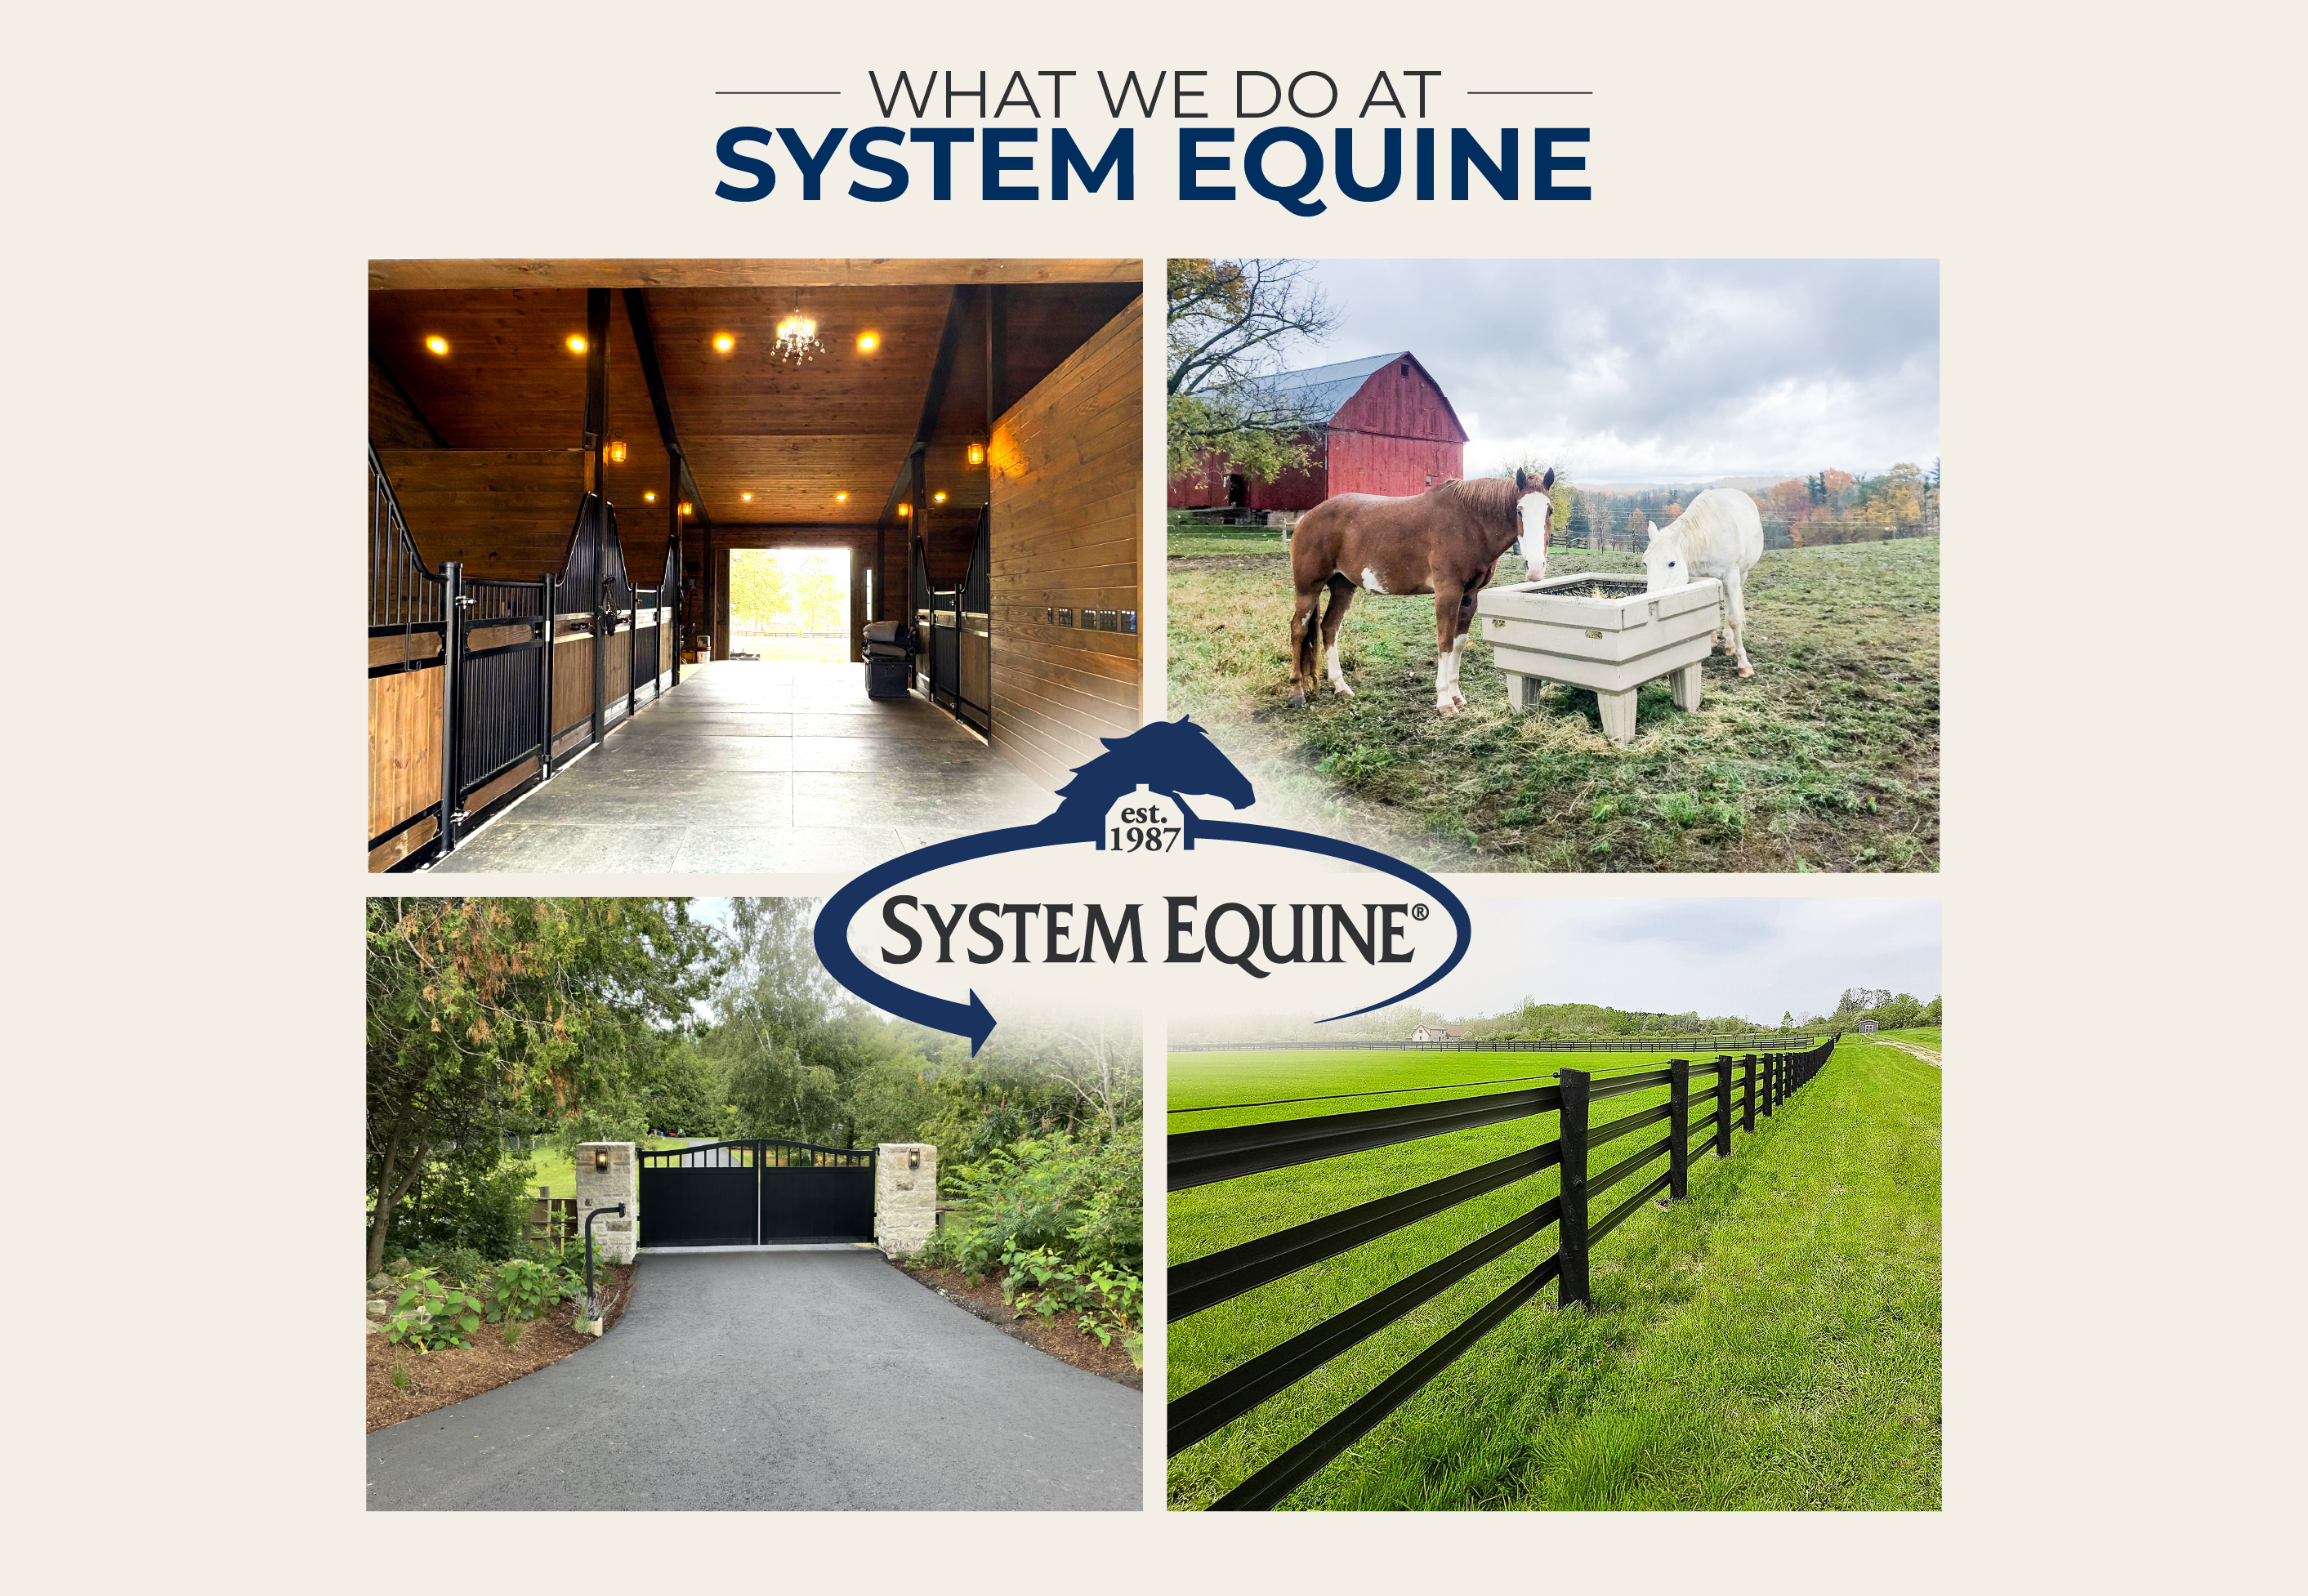
Building a new home? Don’t leave your automatic driveway gate as an afterthought. Follow these 8 expert pre-installation tips to avoid costly mistakes and ensure a smooth setup.
If you’re building a new home and want the added security, curb appeal, and convenience of an automatic driveway gate, now is the perfect time to plan for it — before the final landscaping, driveway paving, or utility trenching is complete.
Too often, homeowners add a gate as an afterthought, only to find themselves cutting through fresh asphalt or redoing work already completed. This guide helps ensure you and your builder are aligned from day one.
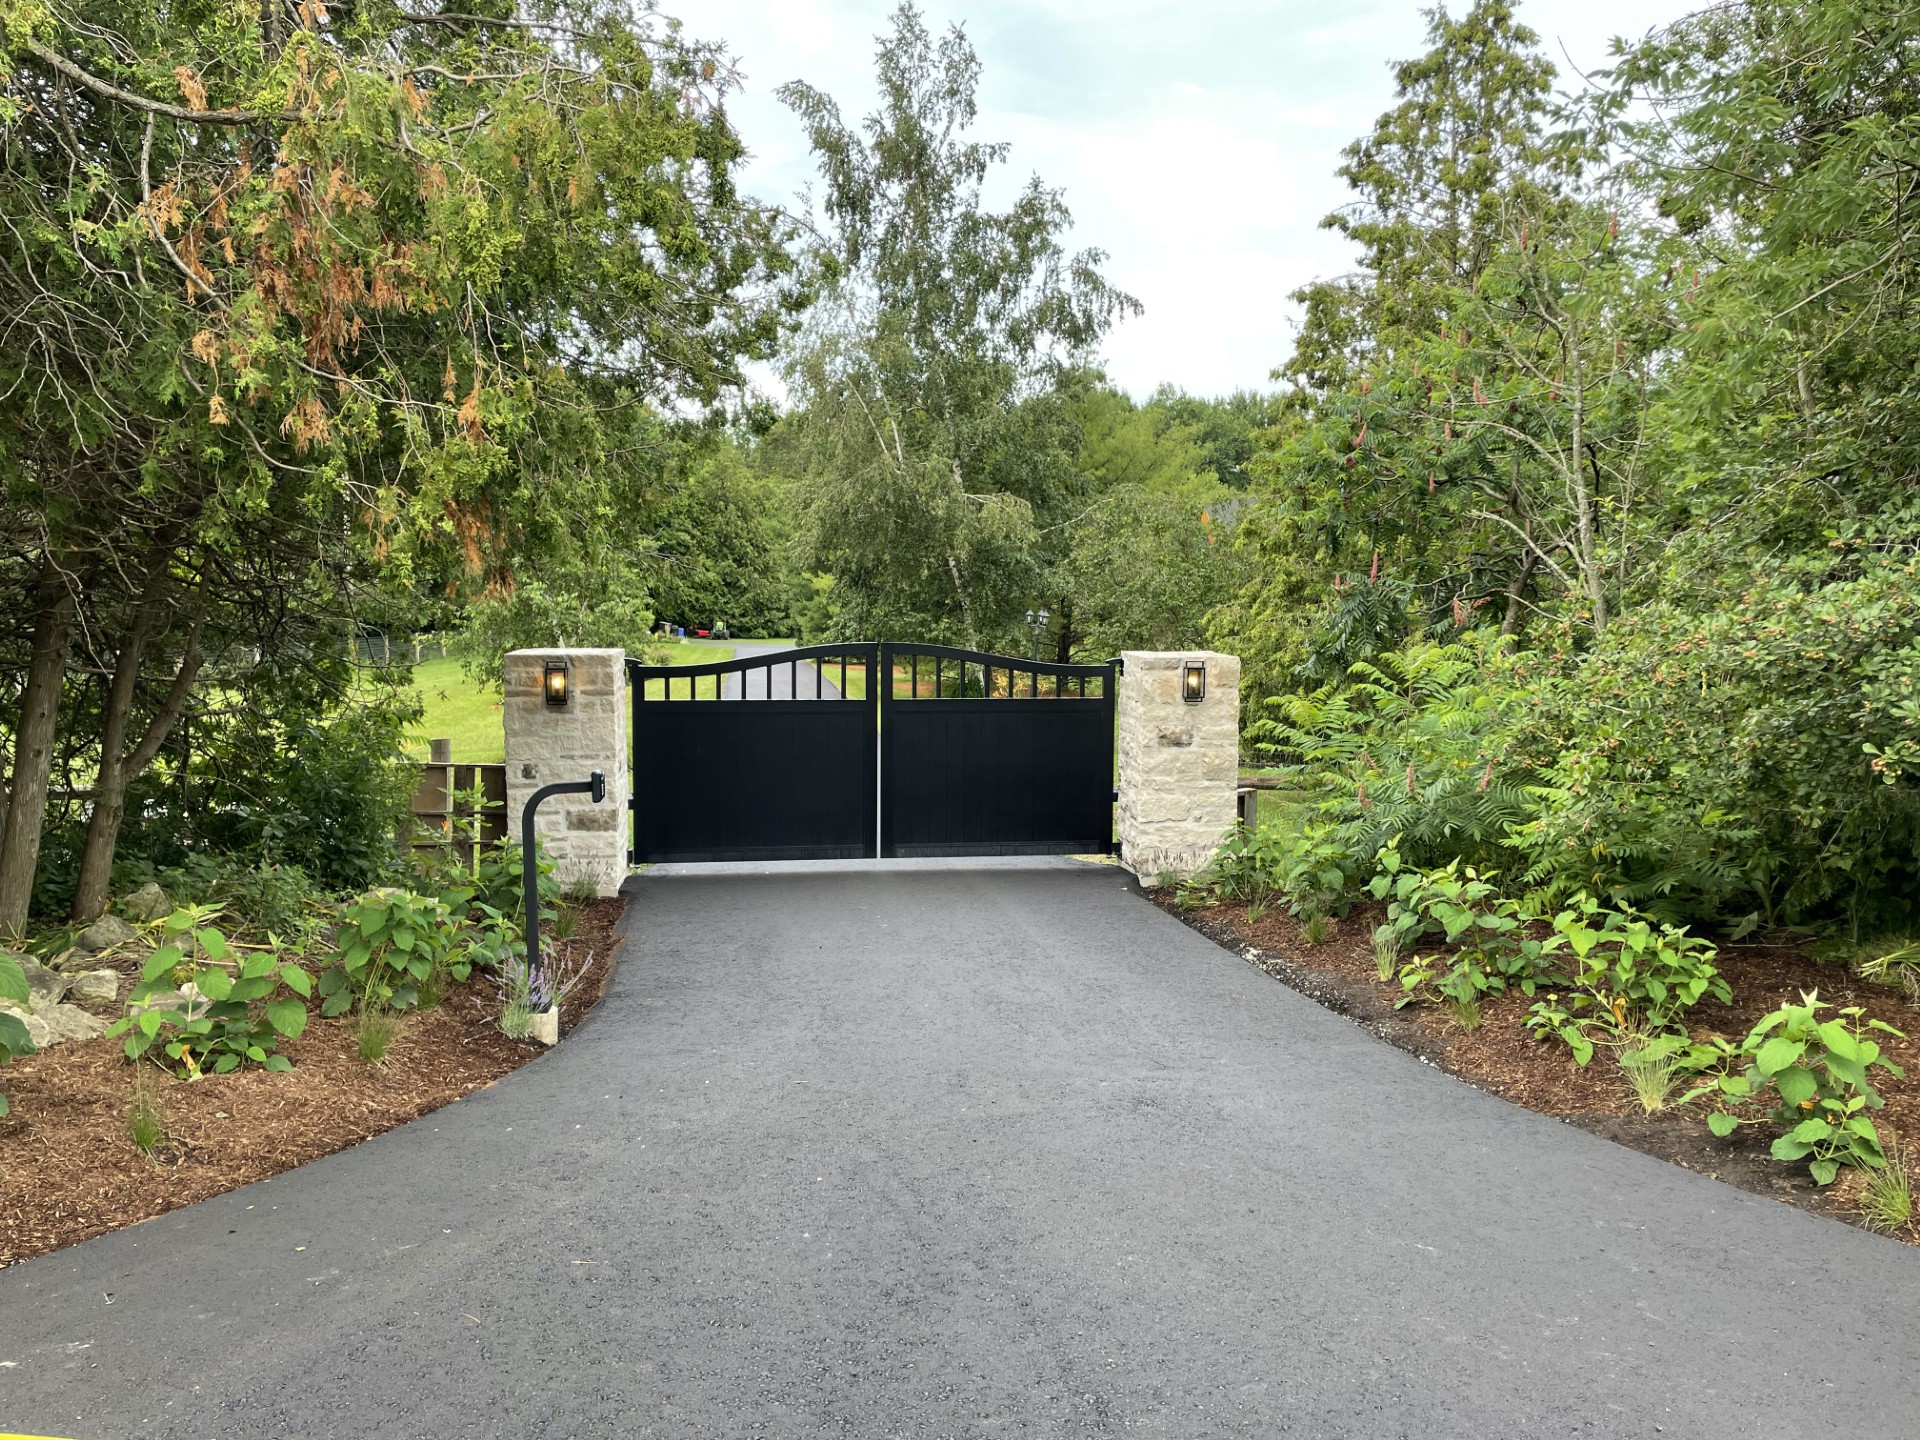
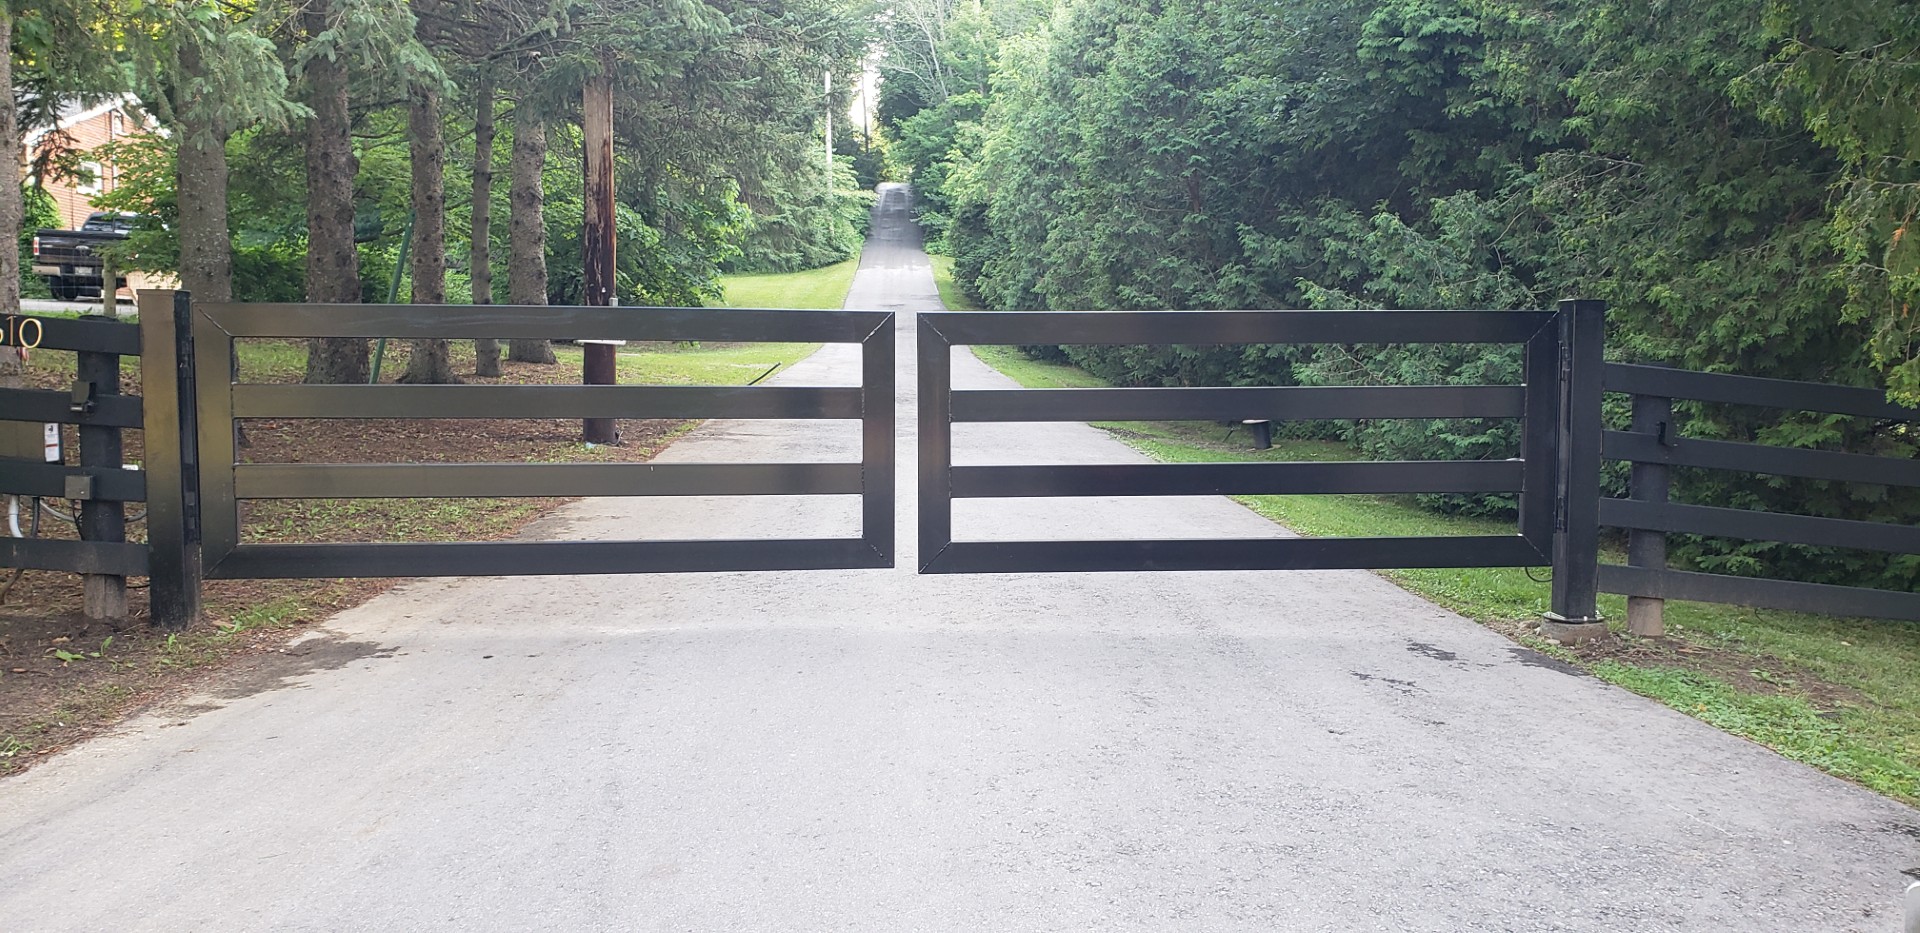
1. Plan Gate Location and Swing Type
- Choose whether your gate will swing or slide
- Decide if it opens inward or outward (inward is most common)
- Ensure the driveway width accommodates large vehicles and emergency access (12–16 feet wide; 14′ is most common)Set the gate far enough off the road — especially if you’re towing trailers
2. Run Conduit Before Driveway Is Poured
- Power conduit: 2″ for 110V or 220V service
- Low-voltage conduit: 1″ for data, intercoms, access systems
- Run two separate conduits to minimize interference
- Install before paving, with pull cords in place
3. Plan for Internet and Communication
- For systems like LiftMaster myQ or DoorBird, run a Cat6 cable (up to 300 ft max)
- Longer distances require fiber optic cable
- Avoid relying on Wi-Fi bridges for permanent installations
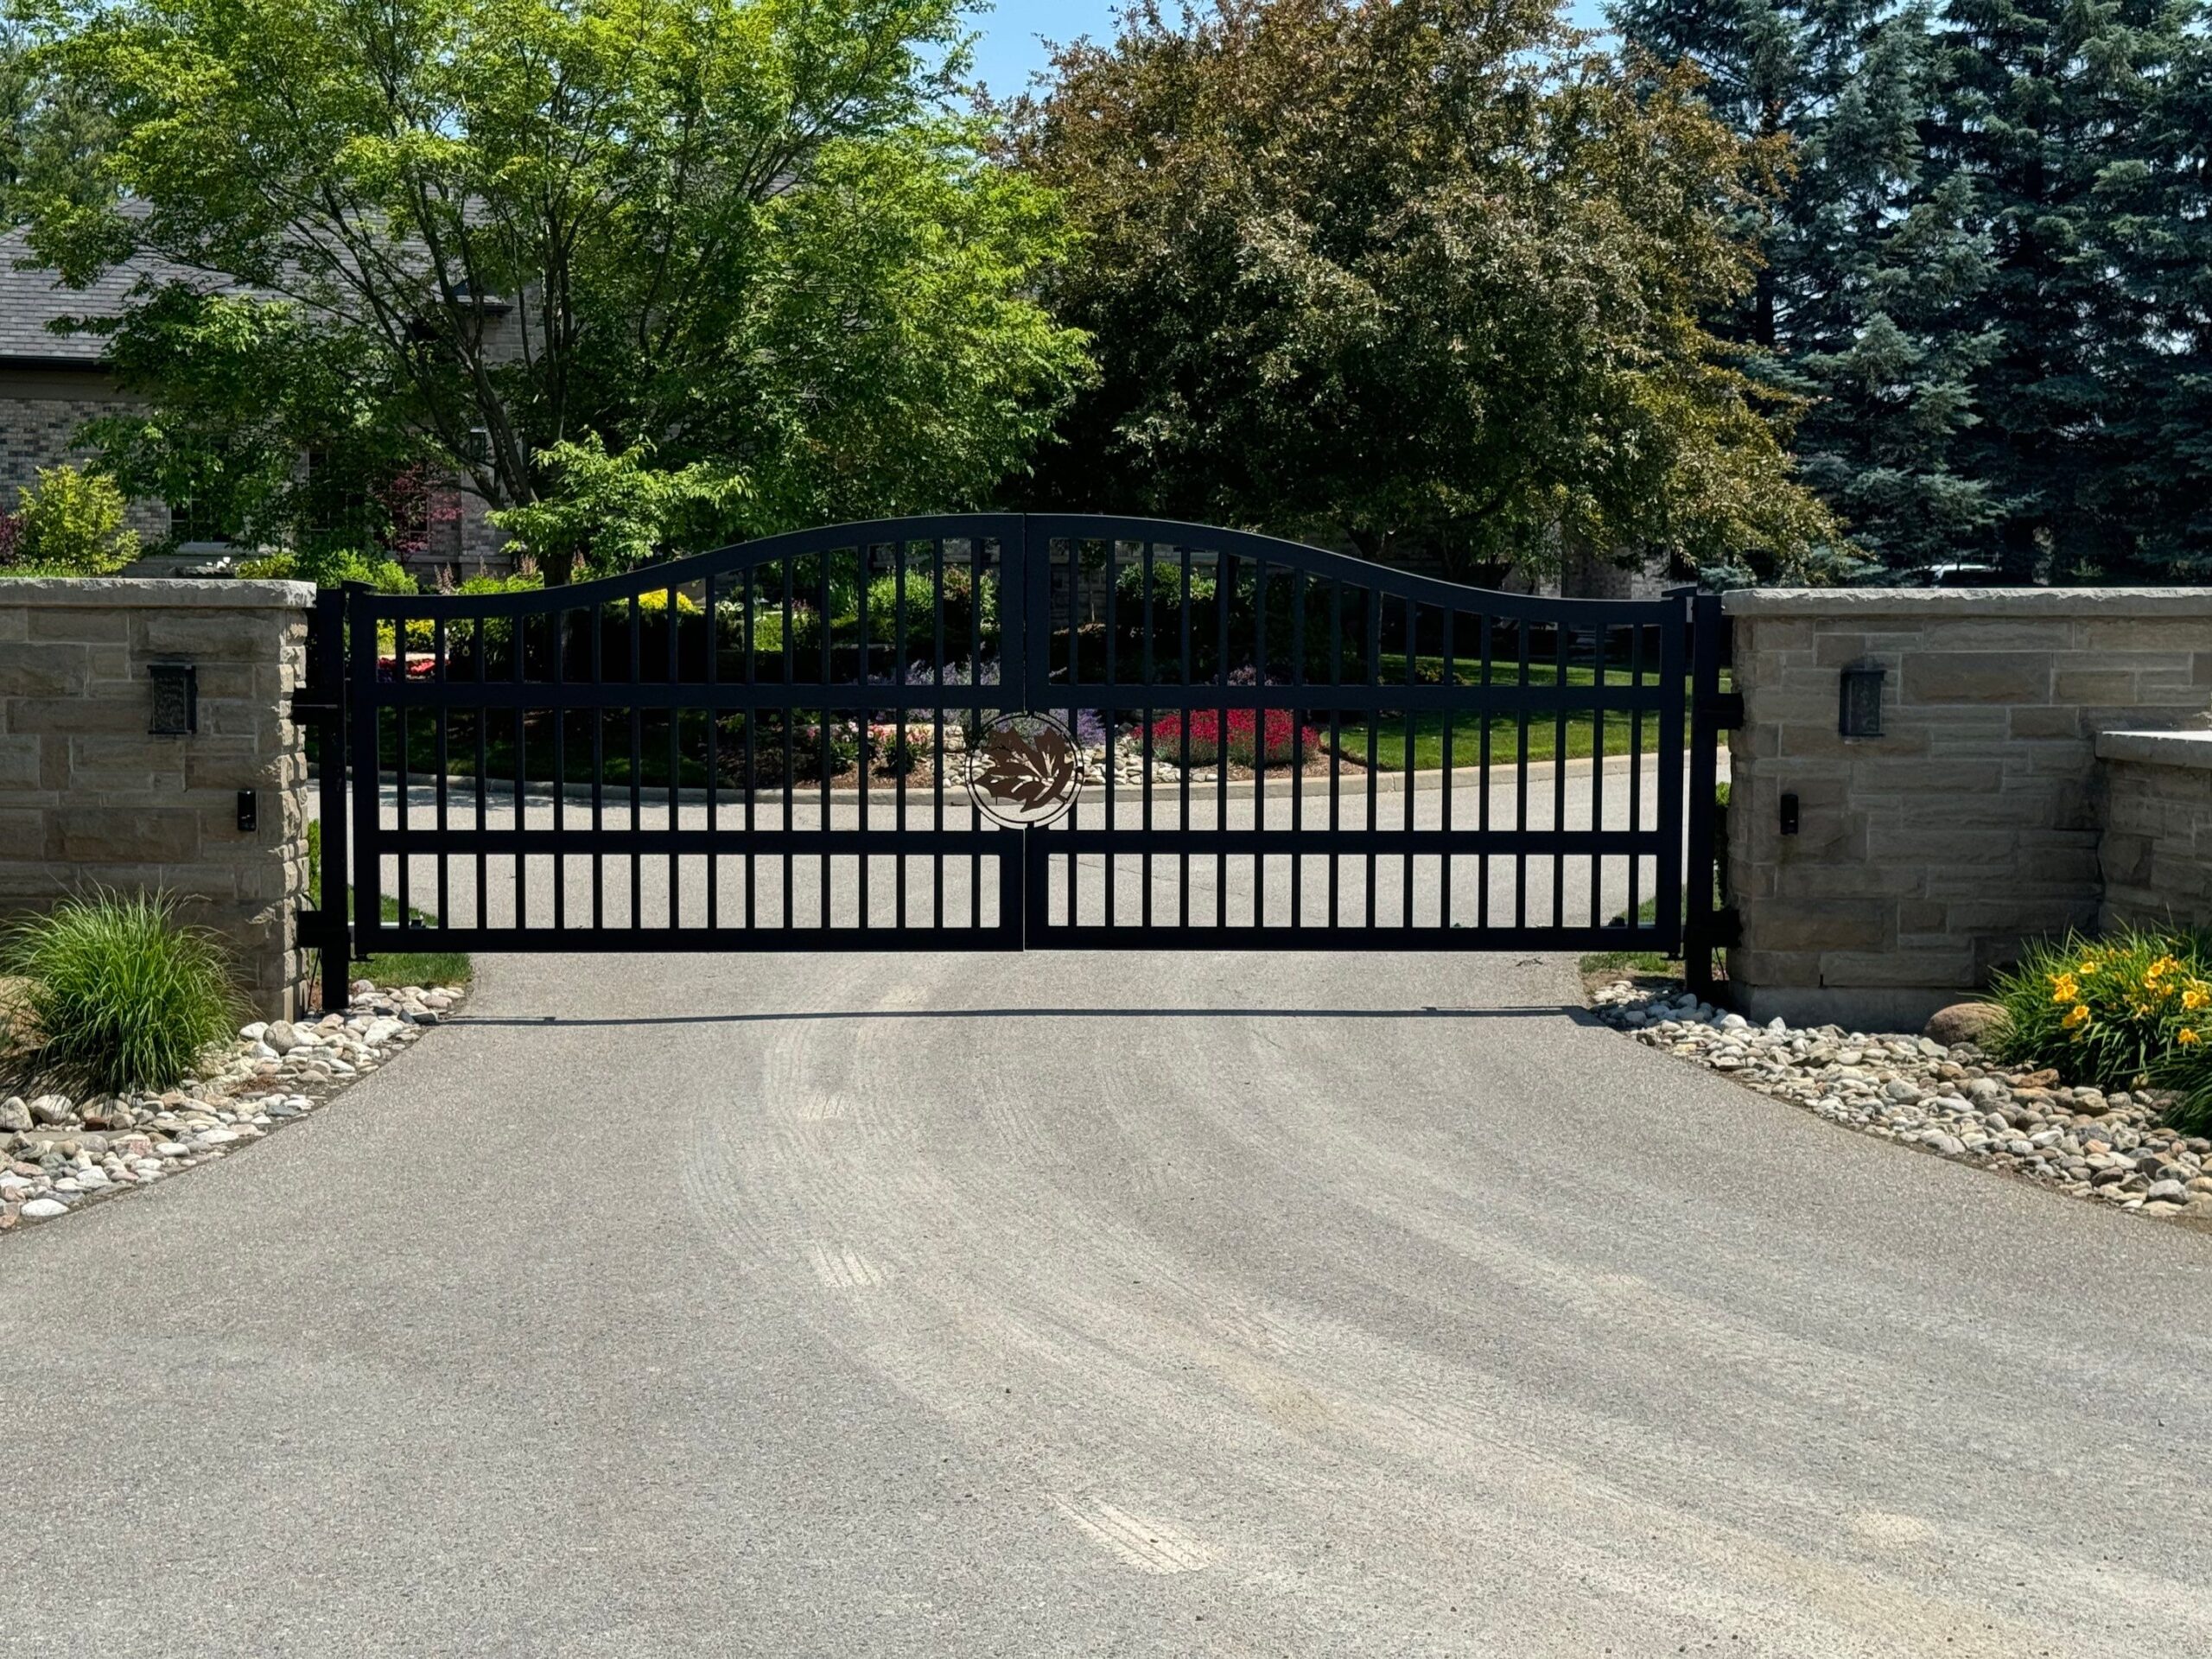
4. Build Gate Posts and Pillars with Purpose
- Pour deep footings (4–6 feet in Canada)
- Use internal steel posts if cladding in brick/stone
- Pre-plan conduit runs through pillars
- Consider helical piles or keyed foundations for long-term stability
5. Reserve Space for Operator Equipment
- Leave room for:
- Swing arm or sliding motor
- Controller box
- Battery backup unit (optional)
- Mark equipment zones on your landscape and grading plan
6. Grade the Site Correctly
- Ensure level or properly sloped areas for gate swing
- Avoid slopes toward gate which hinder operation
- Plan for drainage to prevent pooling near equipment
7. Safety First: Devices and Code Compliance
- Include:
- Photo eyes
- Safety edges
- Vehicle detection loops (installed before paving)
- Manual release systems
- Confirm adherence to UL 325 and ASTM F2200 standards
8. Design Access Control Early
- Plan for:
- Keypads (20′ from gate, on driver’s side)
- Exit loops or probes (75′ before gate)
- Card readers, intercoms, or video systems
- Emergency access solutions like Knox Boxes
Final Thought: Talk to Your Installer Early
Don’t wait until your house is nearly finished. Share this guide with your builder, electrician, and gate installer early to save time, money, and frustration.
Need Help?
We specialize in designing and installing automatic driveway gate systems across Canada and the U.S.
Whether you’re looking for basic entry-level solutions or advanced video, keypad, and integration setups — we’ve got you covered.
📞 Contact us today for a custom gate layout and pre-build consultation.
Don’t forget to follow us on social media to see more of our work!
![]()
![]()
![]()