Every horse owner knows that proper footing is essential for equine health and comfort. Whether you’re setting up a new barn or replacing worn flooring, stall mats are one of the most important investments you’ll make for your horses.
But before you place that order, you need to know exactly how many mats you’ll need. Order too few, and you’ll face delays and additional shipping costs. Order too many, and you’re wasting money on materials you don’t need.
This comprehensive guide will walk you through the process of calculating your stall mat requirements with precision, ensuring you get exactly what you need the first time.
Understanding Stall Mat Basics
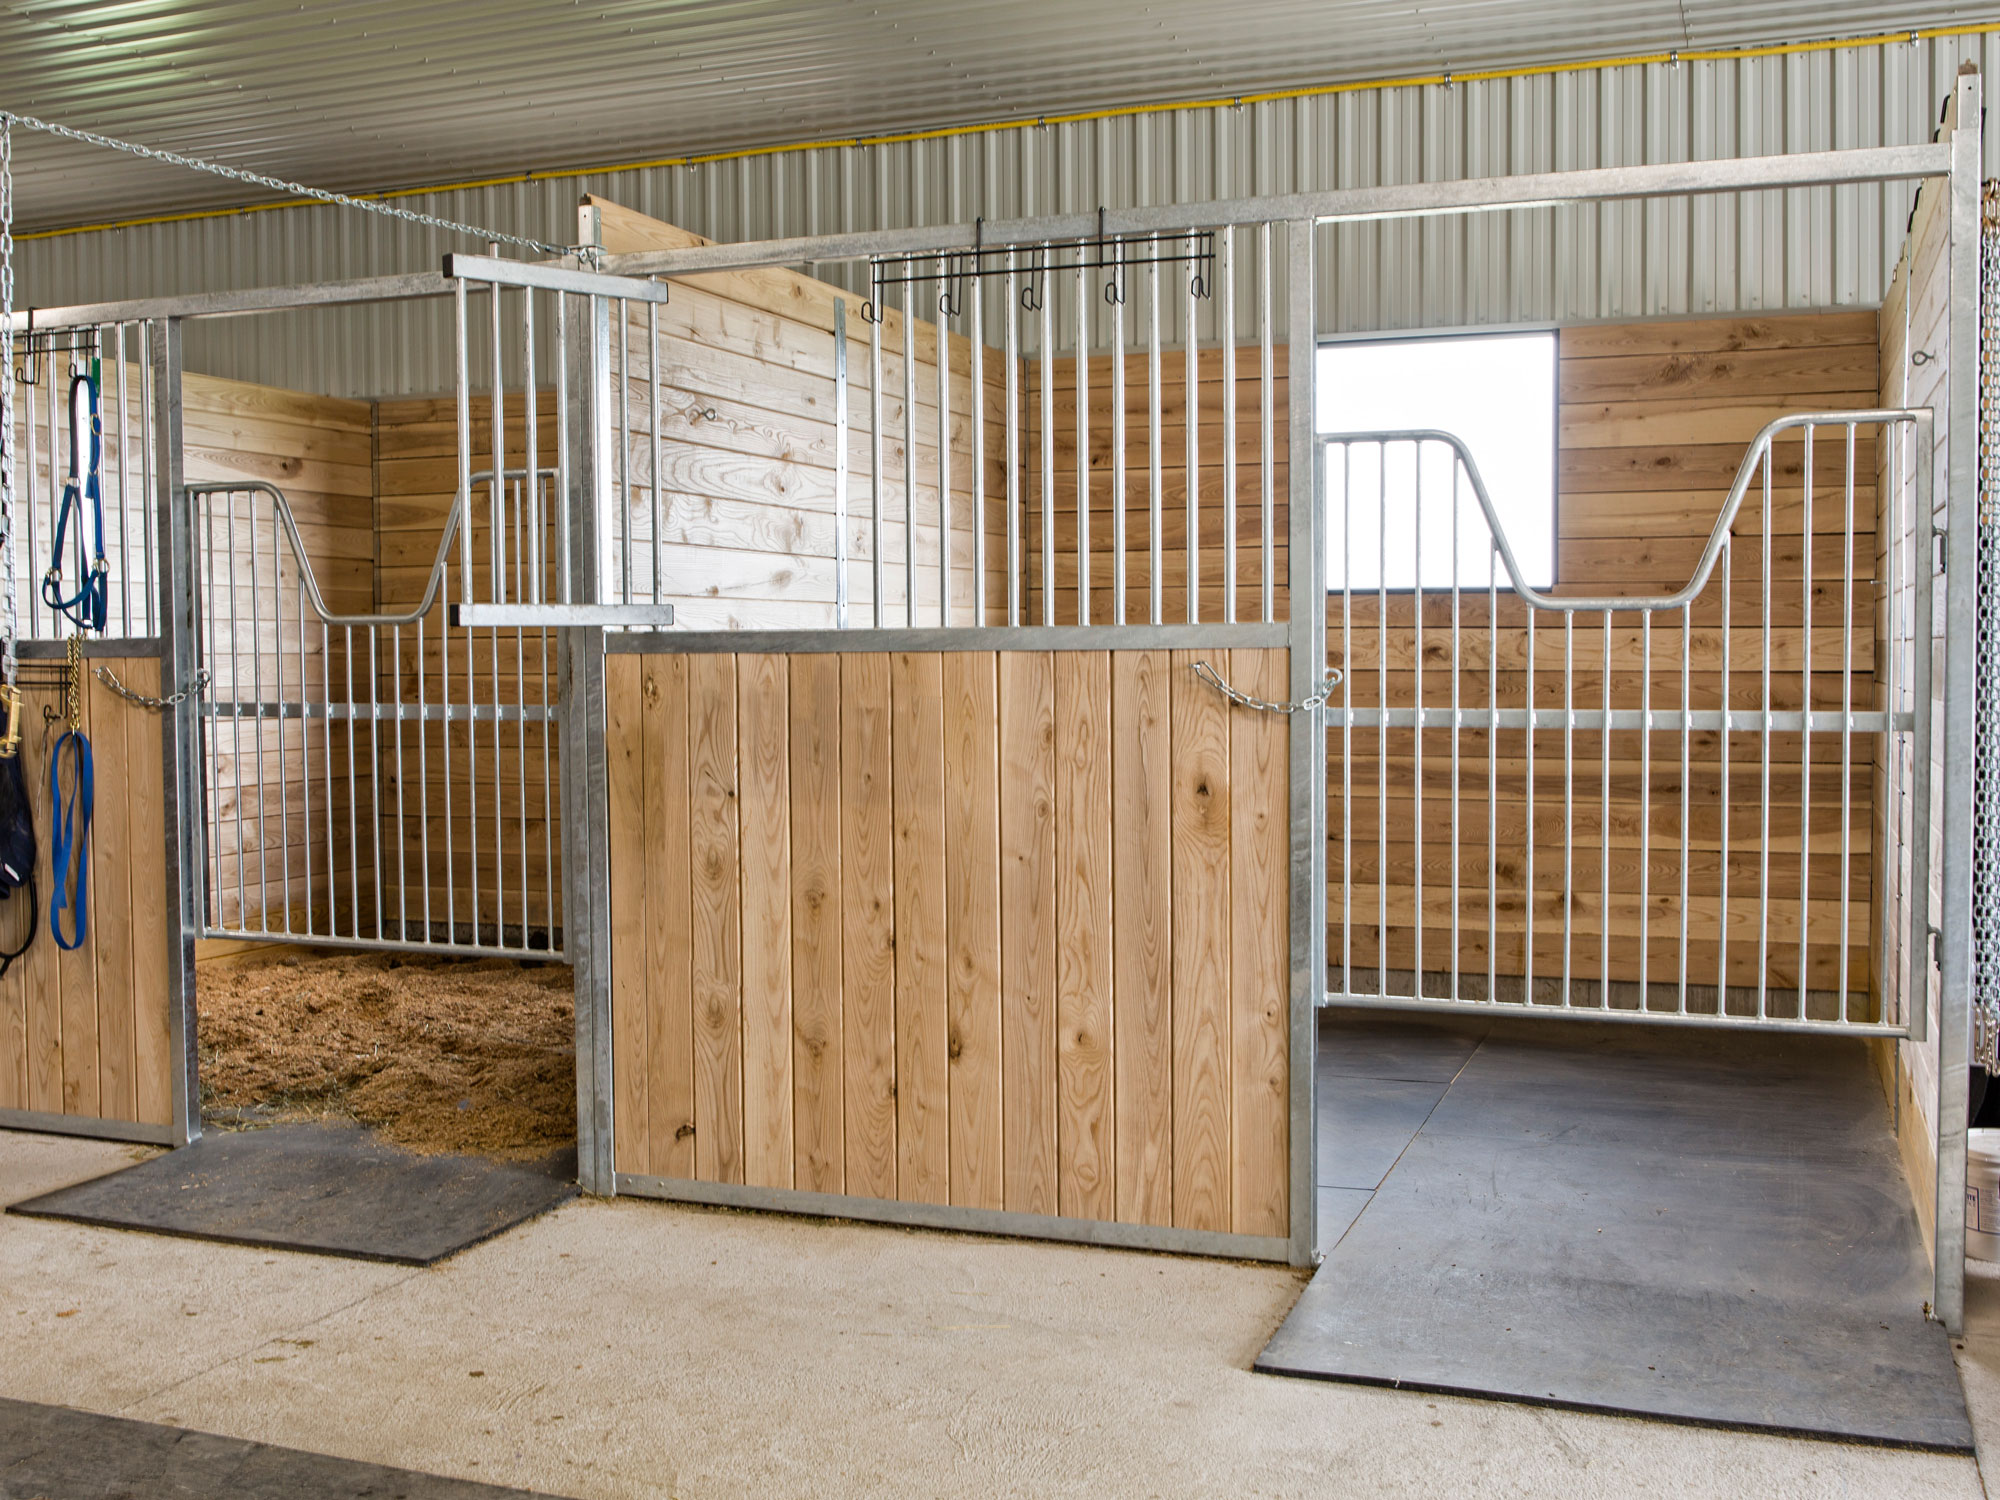
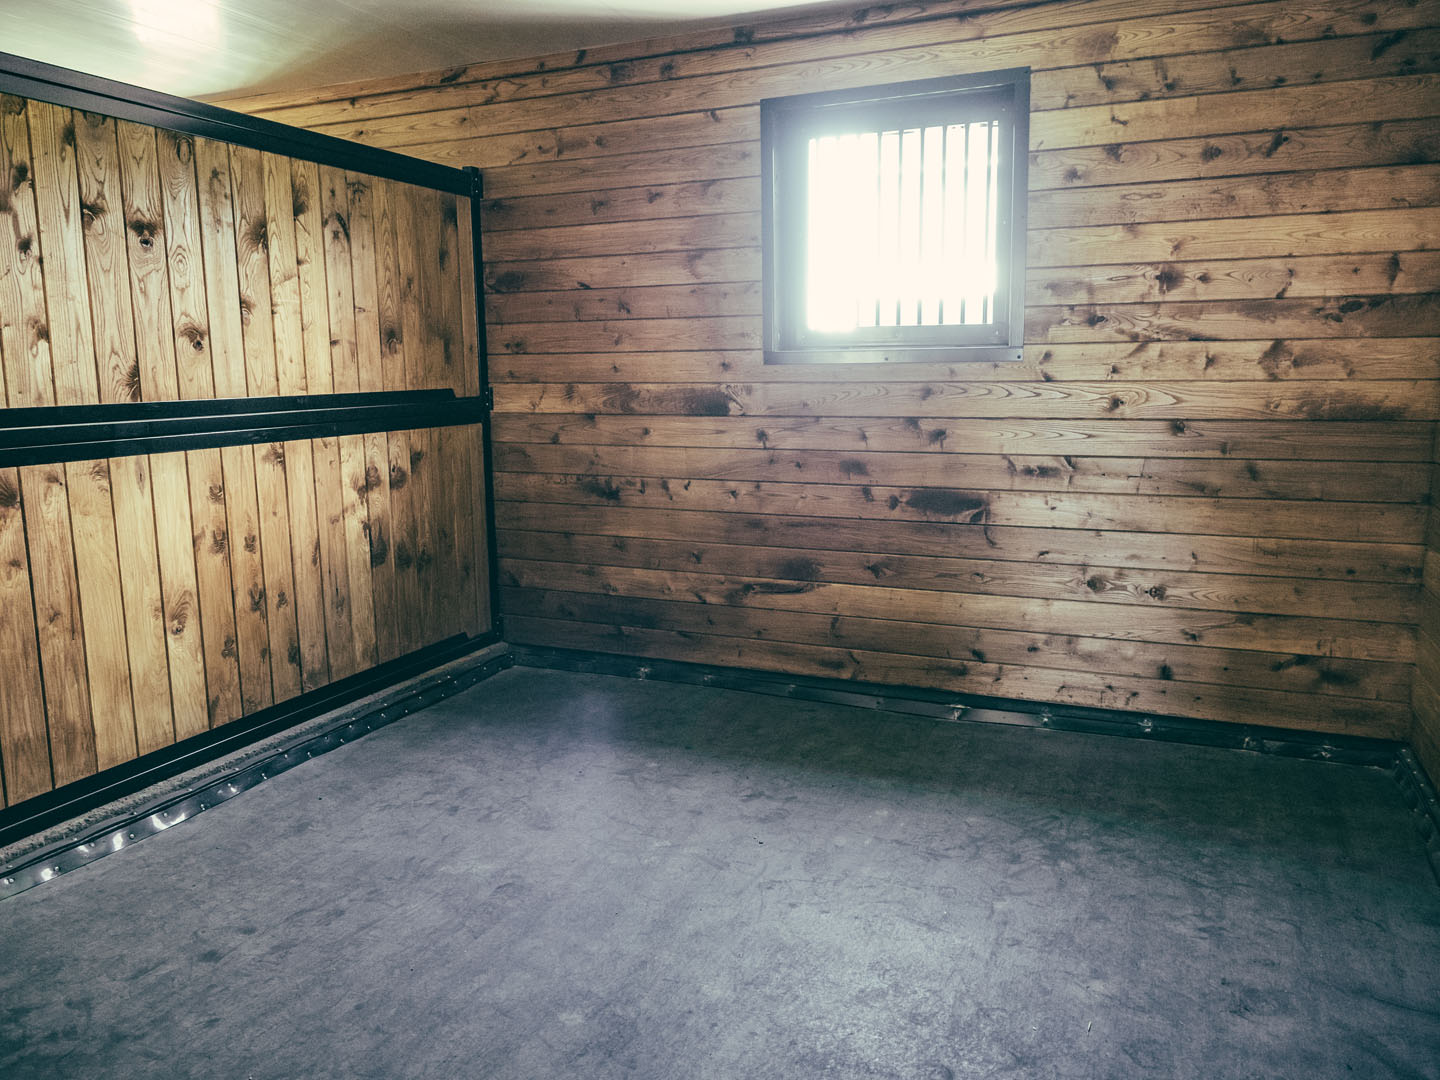
Stall mats provide a cushioned, non-slip surface that protects your horse’s joints, reduces bedding costs, and makes stall cleaning significantly easier. These heavy-duty rubber mats create a barrier between your horse and the cold, hard ground, or concrete, improving comfort during rest periods and reducing the risk of injury.
The most common stall mat size is 4 feet by 6 feet, which covers 24 square feet per mat. However, you’ll also find mats in 4×4, 4×8, and even 6×6 configurations depending on the manufacturer. Standard thickness ranges from three-quarters of an inch to three-quarters of an inch, with heavier mats providing better cushioning and durability. The material composition, typically recycled rubber, makes these mats heavy, durable, and long-lasting, but also means they’re expensive to ship and difficult to return if you’ve miscalculated.
Understanding these basic dimensions is crucial because your entire calculation will be based on the specific mat size you choose. A miscalculation doesn’t just mean extra cost; it can also mean significant delays while you wait for additional mats to arrive or struggle to return excess materials.
Before You Begin: What You’ll Need
Proper preparation makes the measuring and calculating process much smoother. Before you start, gather a few essential tools. You’ll need a reliable tape measure, preferably 25 feet or longer to measure larger stalls in one go. Bring a notepad and pencil to record measurements, and have a calculator handy for the math, or use your smartphone’s calculator app.
Take time to gather information about your stall layout before you begin measuring. Walk through your barn and note any permanent fixtures like automatic waterers, wall-mounted feeders, or built-in hay racks that might affect mat placement. If you have irregularly shaped stalls or multiple spaces to mat, consider taking photos or making quick sketches to help you visualize the layout later.
It’s also helpful to know what type of stall mat you’ll be purchasing before you measure. Check with your supplier or System Equine to confirm the exact dimensions of the mats you plan to order, as even small variations can affect your final count.
Step 1: Measure Your Stall Dimensions
Accurate measurements are the foundation of your entire calculation, so take your time with this step. Start by measuring the length of your stall from wall to wall at the back of the space, making sure your tape measure is straight and taut. Record this measurement in feet and inches. Next, measure the width of the stall, again ensuring your tape is straight and measuring from wall to wall.
For square stalls, you’ll have identical measurements for length and width. A standard 12×12 stall, for instance, will measure 12 feet on all sides. Rectangular stalls are just as common; you might find 10×12, 12×14, or other configurations. Always measure the actual space rather than relying on barn plans or memory, as construction realities can differ from blueprints.
When measuring, account for any permanent fixtures that will prevent mat placement. If you have a wall-mounted automatic waterer, measure around it and note the space it occupies. The same applies to built-in feeders or permanent kick boards. For doorways, measure to the threshold where you want the mat to end, as you typically won’t want mats extending into the aisle way.
A critical tip: always double-check your measurements by measuring each wall twice and from multiple points. Older barns in particular may not have perfectly square corners, so measure the length at both the front and back of the stall, and the width at both the left and right sides. If there are discrepancies, use the largest measurement to ensure adequate coverage.
Convert all your measurements to decimal feet to make calculations easier. For example, if a stall measures 12 feet 6 inches, convert this to 12.5 feet by dividing the inches by 12. This standardization will simplify your math in the next steps.
Step 2: Calculate Total Square Footage
Now that you have accurate measurements, calculating the square footage is straightforward. Use the basic formula of length multiplied by width to determine the total area you need to cover. For a standard 12×12 stall, the calculation is simple: 12 feet × 12 feet = 144 square feet. For a rectangular 12×14 stall, you would calculate 12 feet × 14 feet = 168 square feet.
Let’s work through a sample calculation. Imagine you have a stall that measures 12 feet 3 inches by 13 feet 6 inches. First, convert to decimal: 12.25 feet × 13.5 feet = 165.375 square feet. You would round this to 165 square feet for your planning purposes.
If you have an L-shaped stall or an irregular space, break it down into manageable rectangular sections. Measure each rectangular section separately, calculate the square footage for each, and then add them together for your total. For instance, if you have an L-shaped stall with one section measuring 10×12 (120 square feet) and another section measuring 6×8 (48 square feet), your total coverage area would be 168 square feet.
Always record these calculations clearly with labels indicating which stall or area each calculation represents. If you’re matting multiple stalls, create a simple chart with stall numbers or names, dimensions, and square footage for easy reference. This documentation will be invaluable when you’re ready to place your order or if you need to explain your requirements to a supplier.
Step 3: Determine Mat Coverage and Quantity
With your total square footage calculated, you can now determine how many mats you need. Using the standard 4×6 mat size, which covers 24 square feet per mat, divide your total square footage by 24. The formula is: Total Square Footage ÷ 24 = Number of Mats Needed.
For our 12×12 stall example with 144 square feet, the calculation is 144 ÷ 24 = 6 mats. This works out perfectly because the dimensions align well with standard mat sizes. However, most real-world situations aren’t quite this neat.
Consider a 12×13 stall with 156 square feet. Dividing 156 by 24 gives you 6.5 mats. Since you can’t order half a mat, you must round up to 7 mats. This is a critical rule: always round up to the next whole number, even if you’re just slightly over. It’s better to have a small amount of excess material for cutting and fitting than to come up short.
When planning your order, add an extra 5 to 10 percent beyond your calculated needs. This buffer accounts for cutting waste, installation errors, and future repairs. Stall mats are durable, but having a spare mat on hand means you can quickly replace a section if one becomes damaged without needing to special-order a single mat. For a 7-mat stall, consider ordering 8 mats to have one spare.
If you’re using interlocking or puzzle-edge mats instead of standard straight-edge mats, your calculations remain the same, but installation will be easier as the interlocking edges help secure the mats in place and reduce movement over time. (update this as interlocking mats are smaller dimensional)
Step 4: Planning Your Mat Layout
Before installation day arrives, sketch out your mat layout on paper. This planning step helps you minimize cutting, reduce waste, and create the most stable floor possible. Draw a simple overhead view of your stall to scale, then mark out where each mat will be placed.
For optimal results, start your layout from the back corner of the stall and work forward toward the door. This approach ensures your most visible area, the entrance, has the cleanest appearance. Plan to minimize seams in high-traffic areas where your horse typically stands or turns, as excessive seams in these areas can separate over time.
When working with doorways, plan your mat placement so that full mats extend as close to the threshold as possible. If you need to cut mats to fit around door frames, make these cuts clean and straight for the best appearance and to prevent tripping hazards. Most stall mat installations have mats ending right at the door threshold, creating a clean transition to the barn aisle.
For interlocking mats, pay attention to the direction of the connection pattern. Many interlocking systems are directional, meaning the puzzle edges only fit together one way. Plan your layout so that the locking edges face the correct direction for assembly, typically starting from one corner and working across and forward.
Consider also the location of waterers, feeders, and other fixtures. In most cases, you’ll cut mats to fit around these obstacles rather than leaving gaps. Plan which mats will need custom cuts and mark these clearly on your layout sketch.
Real-World Calculation Examples
Let’s work through several common scenarios to solidify your understanding of the calculation process.
Example 1: Standard 12×12 Stall
- Dimensions: 12 feet × 12 feet
- Square footage: 144 square feet
- Mats needed: 144 ÷ 24 = 6 mats
- Recommended order: 7 mats (includes one spare)
- Layout: Two rows of three mats, running length-wise
Example 2: Larger 12×14 Stall
- Dimensions: 12 feet × 14 feet
- Square footage: 168 square feet
- Mats needed: 168 ÷ 24 = 7 mats exactly
- Recommended order: 8 mats (includes one spare)
- Layout: Two rows of 3.5 mats, requiring one mat to be cut lengthwise
Example 3: Irregular 10×12 Stall with 4×6 Extension
- Main section: 10 feet × 12 feet = 120 square feet
- Extension: 4 feet × 6 feet = 24 square feet
- Total square footage: 144 square feet
- Mats needed: 144 ÷ 24 = 6 mats
- Recommended order: 7 mats (includes one spare)
- Layout: Five full mats in main section, one full mat in extension, one spare
For quick reference, here are common stall sizes and their mat requirements using standard 4×6 mats: a 10×10 stall needs 5 mats, a 10×12 needs 5 mats, a 12×12 needs 6 mats, a 12×14 needs 7 mats, and a 12×16 needs 8 mats. Remember these are minimum quantities; always add at least one extra mat for cutting and future needs.
Money-Saving Tips and Best Practices
Ordering the correct quantity of stall mats the first time saves money in multiple ways. Shipping costs for rubber mats are substantial due to their weight, so avoiding a second shipping charge for additional mats can save you hundreds of dollars. Similarly, returning excess mats often involves restocking fees and return shipping costs that can eat significantly into your budget.
If you’re matting multiple stalls, calculate your total needs and explore bulk pricing options. Many suppliers, including System Equine, offer discounted pricing for larger orders. Buying all your mats at once not only potentially reduces the per-mat cost but also ensures consistent color and texture across all your stalls, as dye lots can vary between production runs.
When deciding whether to buy extra mats beyond your calculated minimum, consider your tolerance for installation challenges and the availability of tools for cutting mats. Use a knife or fine blade jig saw to cut mats,, buying the exact calculated amount plus one or two extra is reasonable. If you prefer to minimize cutting or lack the tools, ordering a few additional mats gives you more flexibility during installation.
To maximize the lifespan of your investment, ensure proper ground preparation before installation. Level the stall floor, remove rocks and debris, and consider adding a layer of crushed limestone or stone dust as a base. This preparation not only makes installation easier but also extends mat life by preventing uneven wear and punctures from below.
For maintenance, sweep or rinse mats regularly to prevent ammonia buildup, which can degrade rubber over time. While stall mats significantly reduce bedding needs, using a thin layer of shavings or pellets over the mats protects them from excessive wear and makes cleaning even easier.
Common Mistakes to Avoid
Many barn owners underestimate their material needs by calculating exact square footage without accounting for cutting waste or irregular fits. Remember, mats don’t always fit perfectly, and you’ll likely need to trim edges or cut around obstacles. That “extra” mat you might think you don’t need often becomes essential during installation.
Another frequent error is forgetting to account for door clearances. If your stall door swings inward, ensure your mat layout won’t prevent the door from opening fully. Sometimes raising the floor level with thick mats can create clearance issues with existing doors. Measure the gap under your door before ordering to ensure three-quarter-inch mats won’t create problems.
Don’t ignore the manufacturer’s specifications for the specific mats you’re purchasing. While we’ve used the standard 4×6 measurement throughout this guide, some manufacturers produce mats in slightly different sizes. Always confirm the exact dimensions of your chosen product before finalizing your calculations.
Failing to plan for proper drainage is another oversight that can cause problems. While stall mats help manage moisture, they’re not waterproof barriers. Ensure your stall base has adequate drainage, or consider mats with drainage holes if moisture management is a concern in your facility. Standing water trapped under mats can lead to deterioration of both the mat and the base material beneath.
Finally, some buyers focus solely on price per mat without considering quality and thickness. Thinner, cheaper mats may seem like a bargain initially, but they wear out faster, provide less cushioning, and may require more frequent replacement. Calculate your total cost of ownership over five to ten years, not just the initial purchase price.
Getting Started: Partnering With System Equine
Calculating your stall mat requirements doesn’t have to be complicated. By carefully measuring your stalls, performing straightforward square footage calculations, and ordering slightly more than your minimum needs, you’ll ensure a smooth installation process and long-lasting results. Remember the key formula: length × width = square footage, then divide by 24 for standard 4×6 mats, and always round up.
The time you invest in accurate measurements and calculations pays dividends in reduced costs, less frustration during installation, and better outcomes for your horses. Quality stall mats properly installed provide years of reliable service, improving horse comfort, reducing bedding costs, and making barn maintenance significantly easier.
Ready to move forward with your stall mat and barn flooring project? Our team at System Equine specializes in equine barn and farm solutions and can help you select the right mats for your specific situation. Whether you have questions about mat types, need help verifying your calculations, or want to discuss bulk pricing for multiple stalls, our experts are here to assist.
Visit our website or contact us today to explore our complete range of stall mat products and find the perfect solution for your barn.
Measure twice, order once, and invest in quality mats that will serve your horses well for years to come. Your horses’ comfort and your barn’s functionality depend on getting this important decision right.
Don’t forget to follow us on social media to see more of our work!
![]()
![]()
![]()